
The Finer Details of Alice’s World (Reflect/Refrain)
The truth is this article likely won’t help for very long given the new set arrives in about 2 weeks to shake up the metagame once more. I’ve been playing R/R Alice’s World for about 2 months now and I have a pretty solid handle on how to play the deck.
This article is not aimed toward beginners, but instead players picking up R/R Alice’s World and looking to take their game to the next level.
Decklist
This is the list I played to a 7-2 finish (13th place) at AGP Dallas 2016:
Deck:
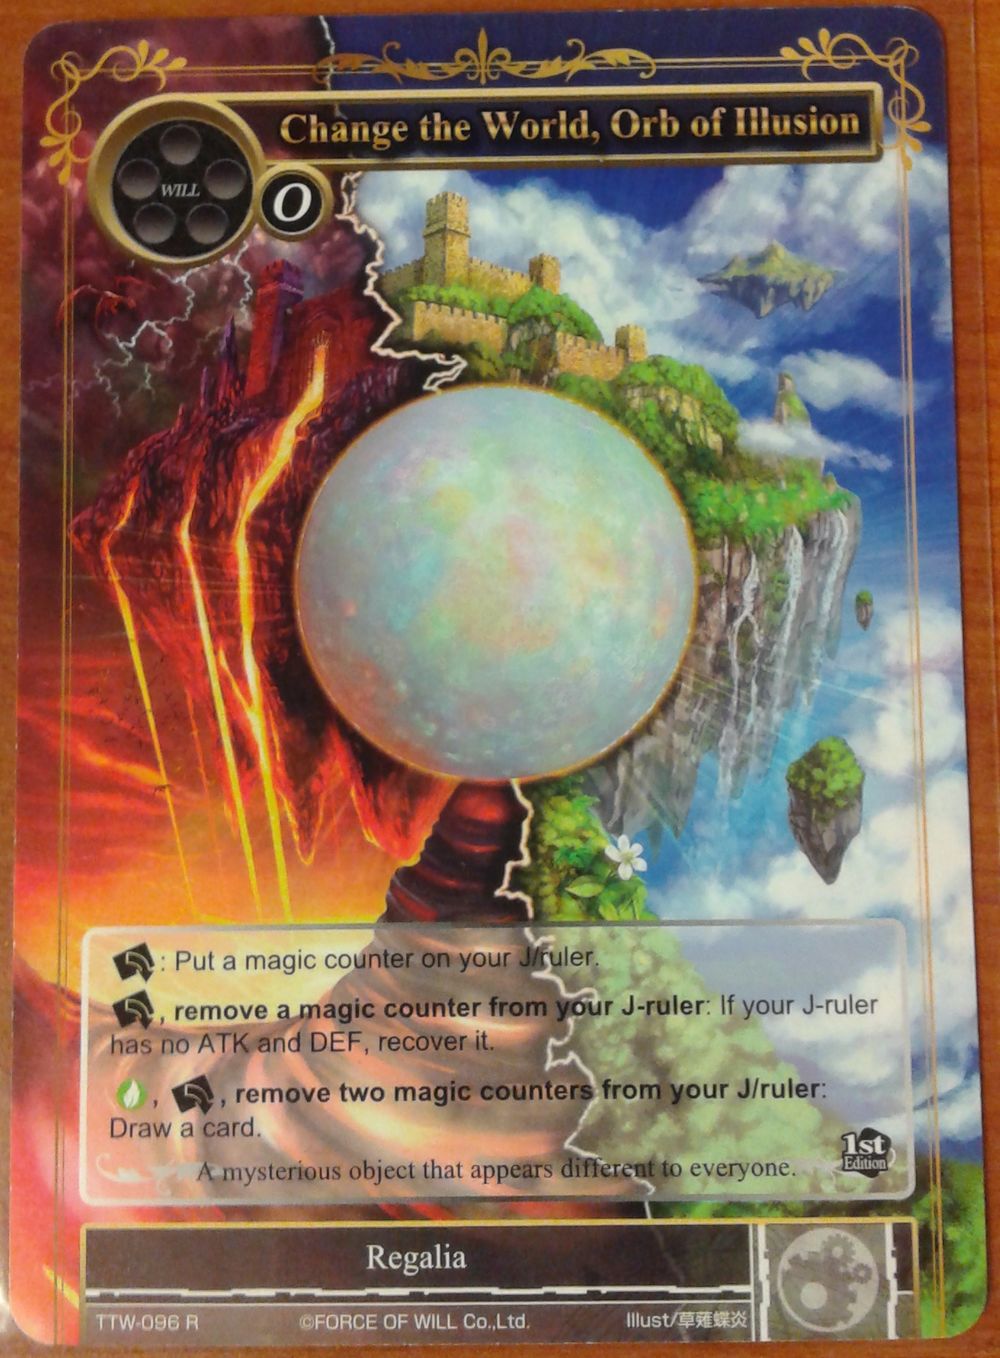
4 Change the World, Orb of Illusion
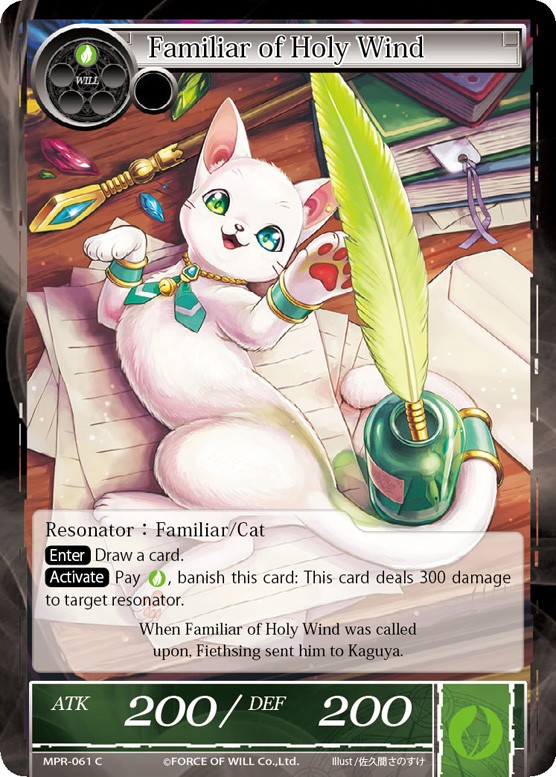
2 Familiar of Holy Wind
4 Cheshire Cat, the Grinning Remnant
4 Elvish Priest
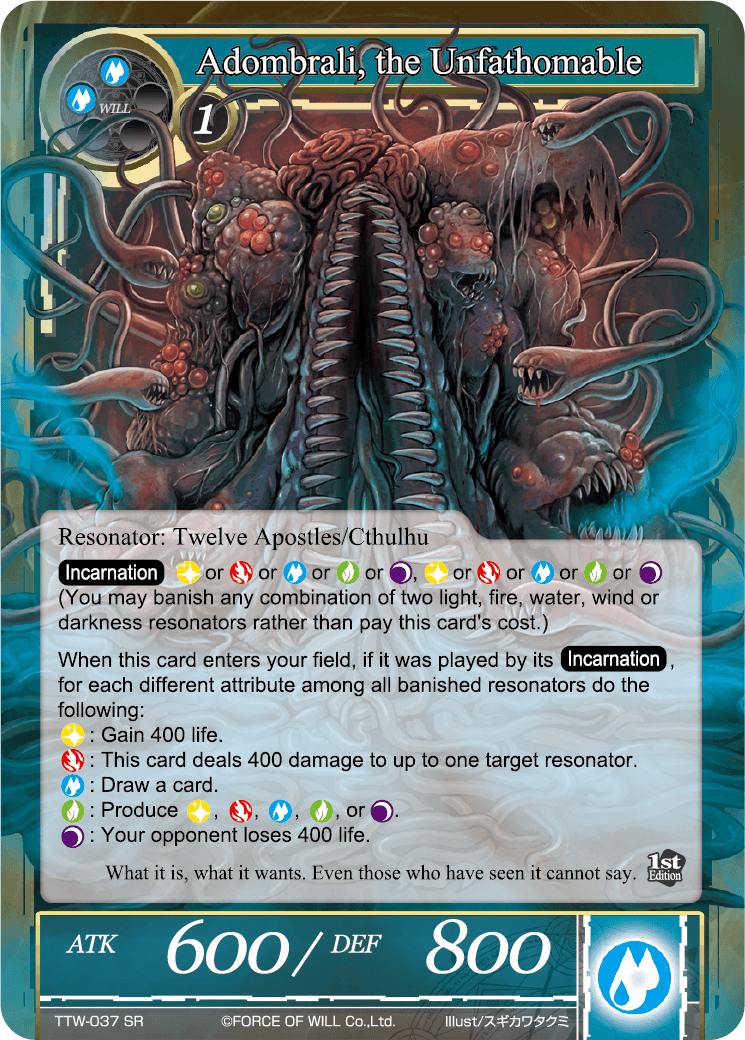
4 Adombrali, the Unfathomable
1 Hera, Goddess of Jealousy
4 Gwiber, the White Dragon
4 Morgiana, the Wise Servant
2 Sign to the Future
2 Horn of Sacred Beasts
3 Robe of Fire-Rat
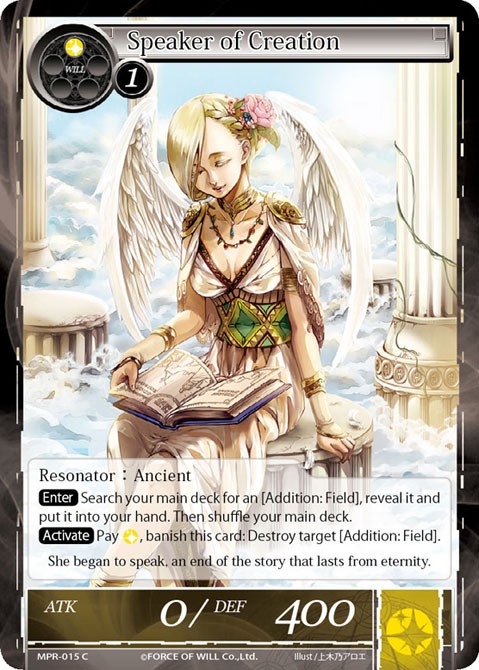
1 Speaker of Creation
1 Pumpkin Witch
1 Laevateinn, the Demon Sword
2 Alice’s World
1 Deathscythe, the Life Reaper
Stone deck:
4 Ruler’s Memoria
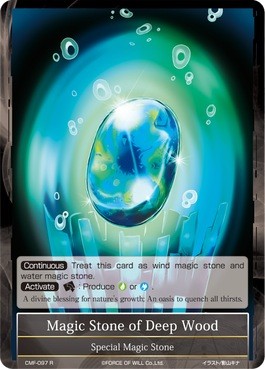
3 Magic Stone of Deep Wood
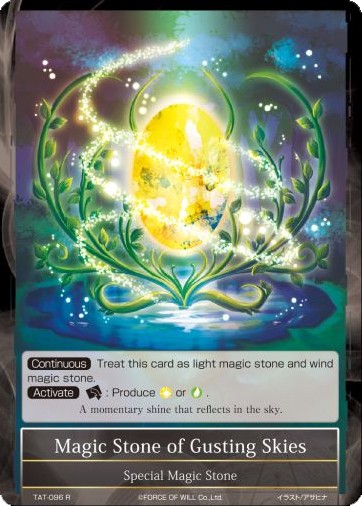
2 Magic Stone of Gusting Skies
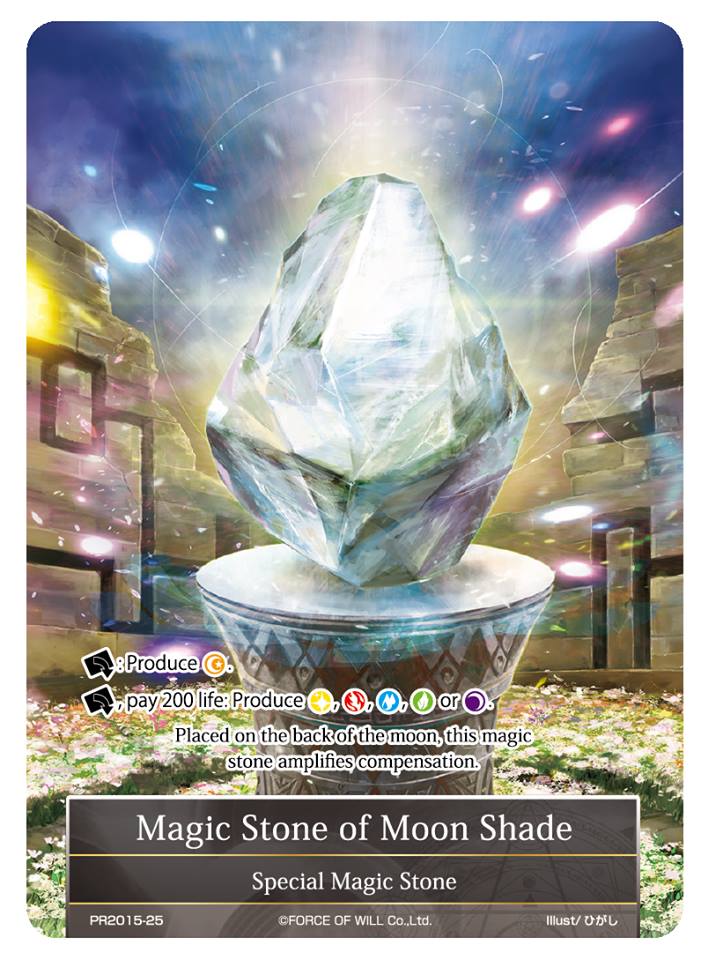
1 Magic Stone of Moon Shade
Side deck:
2 Barrier of Shadows
3 Deathcythe, the Life Reaper
1 Sign to the Future
1 Glimpse of Kaguya
1 Blessed Holy Wolf
2 Marybell, the Steel Doll
1 Hera, Goddess of Jealousy
1 Alice’s World
1 Xeex the Ancient Magic
1 Blazer Gill Rabus
1 Susanowo, the Ten-Fist Sword
This list is not optimal for AGP Richmond 2016 if you plan on attending. I hedged hard against aggro matchups and did not expect to play the mirror match very much (I played it twice). This will probably not be the case for Richmond, although aggro will still be prevalent. Much of the side deck was unused as the core of the deck cannot change much post-board. Your sideboard should be tailored to what you expect at Richmond.
The most important aspect of post-board is changing how you sequence, not necessarily the cards you bring in. However, I will give a few quick pointers here:
- Barriers and Deathscythes are for Valentina and Bahamut. You do not want Hera in the Valentina matchup unless they are not running the green ramp version. Against Bahamut, Hera is also mediocre since they can banish Laevateinn in response to you targeting it. Blazer comes in against Bahamut. It does not come in versus Valentina because they build up a strong board state and you often need to race with either Alice’s World or Pumpkin Witch OTK (planning to kill Valentina does not often work).
- The one-of Glimpse comes in against Dark Alice to counter the god’s art. You must have a Refrain to search the Glimpse when you think they are capable of judgment and god’s art as they often do both on the same turn and you must not let the Walpurgis Night to resolve as it causes most of your resonators to instantly die when they enter the field.
- The Xeex comes in against other decks using Pumpkin Witch because it will prevent you from losing the game.
The rest are judgment calls based on what you see in game 1. What’s important is that your sideboard offers you versatility should you require certain tools for a matchup.
General Strategies
While the deck is capable of goldfishing, it’s rare to have perfect draws so you need to assume you won’t be casting an Alice’s World at the earliest possible time. The deck is capable of playing a midrange beatdown strategy, a combo strategy with multiple turns (by casting Alice’s World), and an OTK strategy for grindy matchups.
Midrange Beatdown
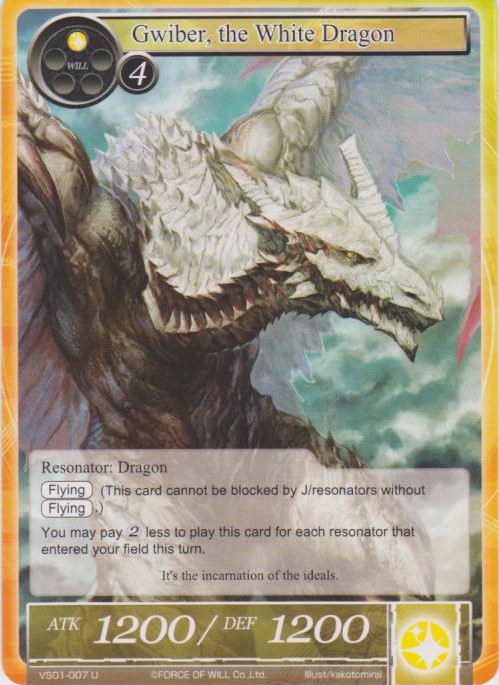
Often known as the ‘turbo gwiber’ route and centers around dropping multiple Gwibers in a single turn backed by a Refrain flip to prevent getting blown out by a Sign to the Future. This is the ‘default’ strategy of the deck as it is solid against most of the decks in the field, whether known or rogue.
- If you are playing a mirror match, you generally don’t turn 2 Gwiber to prevent getting blown out by a Sign to the Future. In the mirror match, you generally only extend once you have a Refrain up. The exception is if you can incarnate for Adombrali after playing the Gwiber in order to reduce your resonator count by 1.
- If you do not have an out to Susanowo, hold on to Gwibers until you can drop two or more in a single turn. However, if you are facing aggro, most of them only run 1 copy of Susanowo in game 1 and it’s safe to drop a Gwiber early as long as they do not have an easy way to search a Susanowo (such as Rukh Egg + Laevateinn already in play, or a Laevateinn and potentially 4 will next turn). You may lose a small number of games due to them naturally having or drawing a Susanowo in game 1, but the mathematical probability is quite low and often worth the risk because Gwiber is stronger than almost every resonator in their deck.
- The general aim of this strategy is not necessarily to deal damage (unless they are close to zero) but rather to elicit a response from the opponent, such as forcing them to flip into Refrain at an inconvenient time and buying you valuable tempo so you can transition into the combo strategy.
Additional Turns Combo
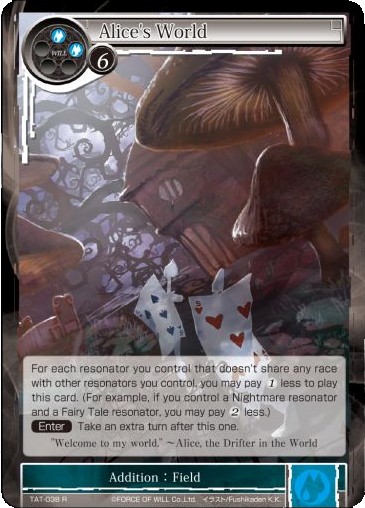
The namesake of the deck and one of the strategies it can transition into at almost any time. Resolving an Alice’s World puts you incredibly far ahead because additional turns allows you to call more stones, play more resonators, and pull ahead even if you cannot deal lethal damage when the combo is finished.
- When you cast the last Alice’s World in your hand (if you were unable to find another one that turn), you almost always want to J-Activate to have an active Refrain in your last turn (unless you have a Laevateinn in play).
- You can take a third turn by banishing an existing Alice’s World with Speaker of Creation, then banishing Horn of Sacred Beasts to shuffle your graveyard back into your deck. Doing so requires you to have an active Refrain in your additional turn so you can search the remaining Alice’s World.
- When combo’ing with Alice’s World, aim to assemble a way to win using the additional turns, such as piecing together the OTK.
OTK (One Turn Kill)
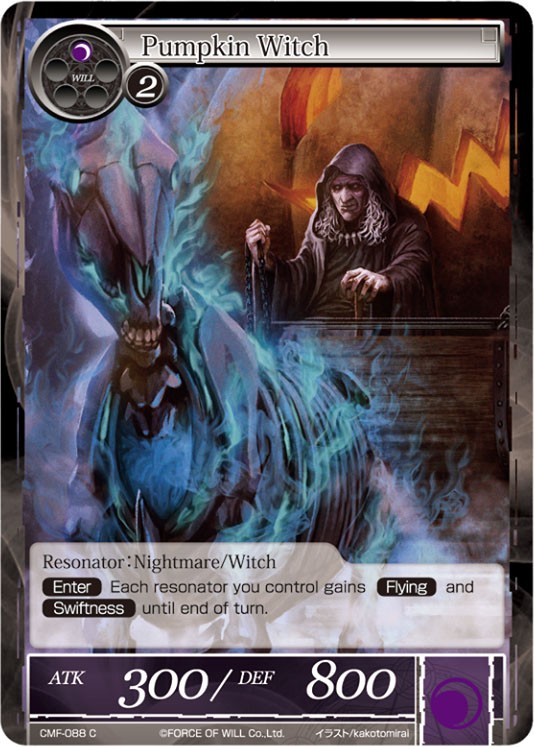
Pumpkin Witch can be thought of as the Head of Exodia, Adombralis as the Arms, and Gwibers as the Legs. This is an OTK combo that can come out of nowhere given the right cards in hand and is generally not susceptible to being disrupted by Sign to the Future. Assembling the cards in hand is also not as difficult due to the fact that Gwiber and Adombrali are central to the other two strategies and that this plan can be transitioned into the moment you draw the Pumpkin Witch or are able to search it out of your deck using Refrain.
- Pumpkin Witch‘s effect lasts until end of turn and applies to all resonators that enter play that turn, including ones that enter play after Pumpkin Witch.
- This strategy is the most math-intensive element of the deck because you have to account for an enemy Refrain bouncing one of your resonators. Note that you should also consider the ability to bounce your own resonators if you have an active Refrain. Attacking with Gwiber, bouncing it, and playing it again allows you to swing for 2400 with a single card.
- Incarnating the Pumpkin Witch to Adombrali and then attacking is a net -1000 life for your opponent and is sometimes the reach you need to close out the game. If you have an active Refrain, you can bounce a previously played Adombrali to your hand to do this.
- The minimum to do this combo for any given board state is 2 resonators, with one of them being green and the other blue, along with Pumpkin Witch, Adombrali, Adombrali, Gwiber, and any green resonator in hand, plus an active Refrain that can bounce the Gwiber at least once. An ideal board state to initiate this combo is Elvish Priest (allows you to float a green before banishing to Adombrali) and Cheshire Cat. If you only have 3 stones, this allows you to Pumpkin Witch -> Adombrali (Priest and Cat) -> produce white from Adombrali to play Gwiber -> use floating green to play the green resonator -> Adombrali (the green resonator and Pumpkin Witch) -> produce white for the second Gwiber netting in at least -4300 life for your opponent. While this situation sounds like Magical Christmasland, the reality is you will often naturally assemble this combo between your cards in hand and the field.
Mulliganing
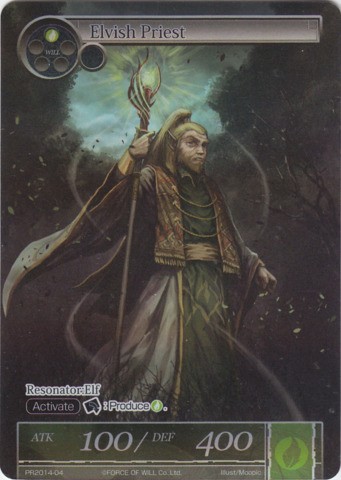
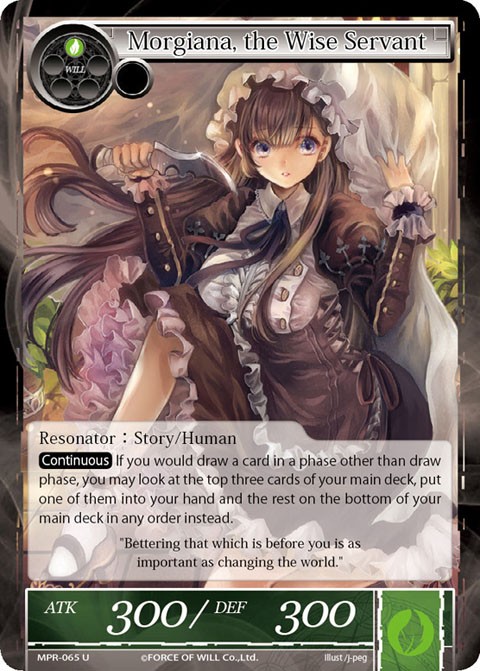
The ideal opening hand involves 1 regalia, 1 Elvish Priest, 1 Morgiana. Aim to sculpt this hand every game as the deck loses a lot of explosiveness if you cannot turn 1 Elvish Priest.
- Always keep 1 Elvish Priest if it is in your opener, even if you do not have any regalia. Sometimes you get lucky on turn 1 and call one of the stones that is not a Ruler’s Memoria. If the other cards in your hand are not regalia and not Morgiana, send them all back.
- If you do not have an Elvish Priest in your opener but you have a Morgiana, keep the Morgiana as it allows you to see 3 on your first Reflect draw effect.
- Outside of the three cards for the ideal opening hand, you should mulligan as aggressively as possible.
Playing Around Cards
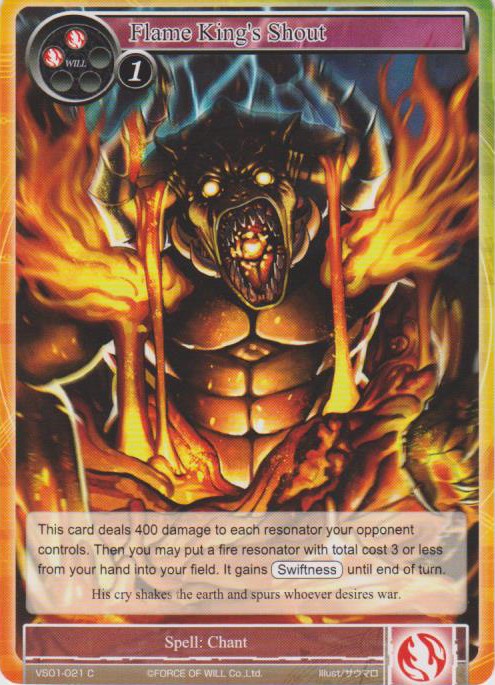
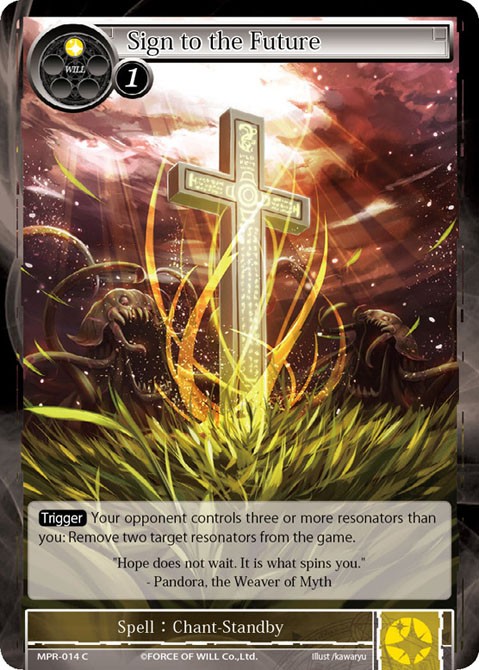
The two main cards to play around are Flame King’s Shout and Sign to the Future.
- Flame King’s Shout is not an appealing play if you are able to resolve a Gwiber or Adombrali. Consider this before you decide to play a bunch of low-cost resonators for the turn. Remember that YOU dictate when Flame King’s Shout is a good play for your opponent.
- Sign to the Future is not appealing for your opponent unless you have any of these cards in play: Gwiber, Adombrali, Morgiana. One interesting fact is that Adombrali generally puts you out of range for Sign to the Future, but you should be aware of your opponent being able to bounce his own resonator(s) with Refrain in order to turn on Sign‘s trigger. In a reverse situation, consider the ability to bounce your own resonator(s) with Refrain if you desperately need to resolve your own Sign to the Future.
- The trigger for Sign to the Future only needs to be met to put the card on the chase. If your opponent does not control 3 more resonators than you after Sign is already on the chase, Sign will still resolve because its trigger is not necessary for the resolution of the effect. This also means if you have 2 Sign to the Future in hand, you can potentially remove 4 of your opponent’s resonators by chasing your first Sign with your second Sign.
Using Will Properly
As a four-color deck, you must be able to utilize will properly in order to not run into mana-screw situations. Here are some tips that should help:
- If playing a green resonator, you generally use green will from an Elvish Priest instead of resting a stone.
- Try to rest stones that produce specific colors (Magic Stone of Deep Wood and Magic Stone of Gusting Skies) before using stones that produce all colors (Ruler’s Memoria and Magic Stone of Moon Shade).
Maximizing Your Gameplay
Every little bit counts, and here are some gameplay lines many players miss when playing this deck.
- Unless playing against a deck with swiftness resonators, consider attacking with resonators like Morgiana and Familiar of Holy Wind to get in little bits of damage. This is especially true in the mirror match. However, the greater issue with little tips like this is that players often overlook this on habit, so to train yourself to not miss free damage you should get in the habit of asking yourself ‘What can I attack with?’ after your recovery step each turn. Just be careful of what your opponent can attack with next turn if his/her board has resonators – a good followup question to ask yourself is ‘What is the crackback?’
- Never rest Change the World to add counters before you draw for your turn. I see a lot of newer players do this. Should you want to remove 2 counters to draw an additional card for the turn, the best time to do so is before your recovery step.
- In the mirror match, don’t forget that you can banish Familiar of Holy Wind to destroy an opposing Morgiana.
- If you are in a situation where you need to dig for cards and have a Cheshire Cat in hand, filter first so you can see an additional card.
- If you have already resolved all your Alice’s Worlds and need an additional turn, you can get one if you have a Horn on board and a Speaker in hand. Play the Speaker, triggering the Enter ability to search your deck for an Addition: Field. Before letting the trigger resolve, activate Speaker‘s ability to banish itself and destroy an Alice’s World in play. Then, with the Speaker Enter ability still on the chase, activate Horn‘s banish ability to shuffle your grave back into your deck. You should now have an Alice’s World in your deck, and the Speaker Enter trigger will resolve and allow you to search for it.
Consider Your Opponent’s Lines
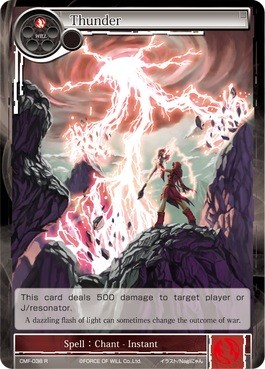
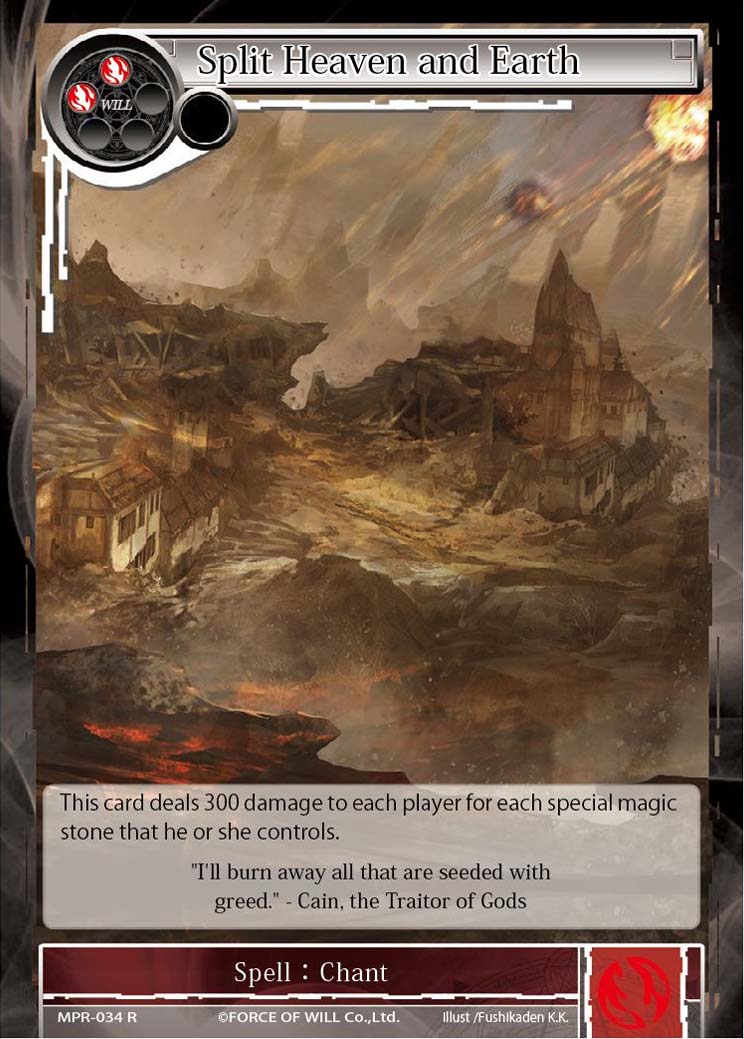
- If you are dead to a Thunder or Split Heaven and Earth then you must have a Refrain active any time your opponent could resolve such card UNLESS your chance of winning the game depends on them not having such card so you can pursue a specific line of play (such as calling stone to play multiple Gwibers when staring down an enemy board threatening lethal damage). Sometimes this means if you have a rested Refrain at the start of your turn, you must leave one Change the World recovered before your recovery step.
- If your opponent can search for an Alice’s World (or any other vital card), sometimes its best to try to stop their search by playing Change the World into their active Refrain to bait them into countering it.
These are all the tips I can give to someone trying to improve their R/R Alice’s World game. The rest takes practice to develop an intuitive understanding of how to approach each matchup and how/when to transition between the three general strategies.
what a great article …thank you