Remote Access Workstation Build
Why Remote Access?
The answer is simple. For the majority of the next four years of my life, I will be stuck in California – stuck in college. The laptop I’m taking with me is an Alienware M11x, which by no means is a weak laptop. However, my concern is internet monitoring. I’m not saying I do illegal things on my computer at home, I’m just saying that I like to have the greatest freedom possible when it comes to my internet usage. Another caveat of this is that I have a secure place to store sensitive data (instead of keeping it on my laptop). Overall, I feel these two advantages are enough to justify investment in what will be my third custom computer build.
The Components
| Components | Make, Model and Specifications | Price |
| CPU/Processor | AMD Phenom II X3 720 Black Edition 2.8GHz Triple-Core Processor |
$105 |
| Motherboard | BIOSTAR A785G3 AM3 AMD 785G microATX AMD Motherboard | $65 |
| RAM | G.SKILL 4GB (2 x 2GB) 240-Pin SDRAM DDR3 1333 | $82 |
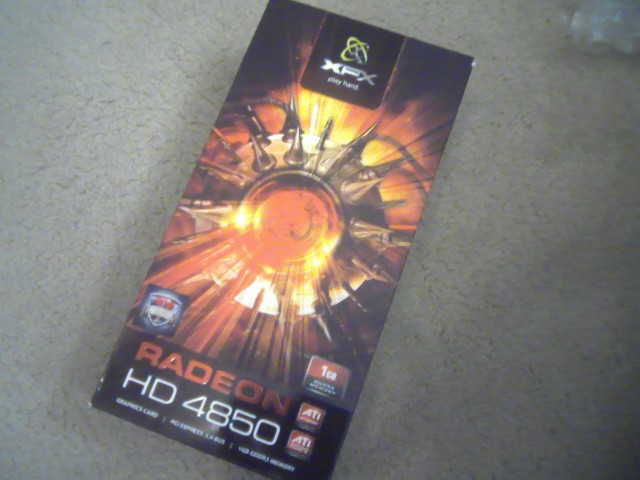
| Video Card | XFX HD-485X-ZNFC Radeon HD 4850 1GB 256-bit GDDR3 |
$115 |
| Hard Drive | Samsung F3 1TB SATA II 3.0GB/s Internal Hard Disk | $75 |
| Optical Drive | LITE-ON Black 24X SATA CD/DVD Burner |
$20 |
| Power Supply | Cooler Master eXtreme Power Plus 500W ATX12V | $35 |
| Case | NZXT Vulcan Enthusiast microATX Mid-Tower | $70 |
| Cooling | Scythe Big Shuriken SCBSK-1000 NZXT 200mm Performance Case Fan |
$38
$15 |
| Sound | 8 channels sound card: Integrated on the motherboard | Free |
| Network | Alfa 1000mW 1W 802.11g/n High Gain Long-Range Adapter |
$25 |
| Total price | Doesn’t include cost of OS, shipping nor handling. | $659 |
For those wondering, the OS I plan on using is Ubuntu 10.04 “Lucid Lynx” and for remote access, FreeNX.
$659 PC, but only a triple-core CPU?
Yes, some people reading this might wonder why I picked a triple-core CPU for a build that costs almost $700. The truth is that I don’t intend for the CPU to remain a triple core. The processor, which is an AMD Black Edition, has an unlocked multiplier as well as a potential fourth disabled core. The motherboard I’ve picked has built-in ACC for overclocking as well as a core unlock feature to try to unlock the disabled core. Of course, there is no guarantee the fourth core will unlock (as some triple-core processors have a truly defective fourth core), but I feel the risk is worth it. Besides, if it doesn’t unlock, a triple-core is still quite powerful, especially once I overclock it.
Component Pictures
Below are some pictures of the components.
Construction
STEP 1 – MOUNT THE CPU:

First, open the CPU box and identify which corner has the yellow triangle. Generally it should be the bottom left corner.

Next, locate the white square on your motherboard surrounded by small black walls. This is the CPU socket layer. On the right of the CPU socket, there should be a small metal lever. Raise that lever up.

Another picture of the CPU socket, with the lever clearly raised up.

Now, locate the indented triangle on the CPU socket. It is generally also in the lower left corner, but if not, make sure you know where it is. You’ll know it’s the right corner if it has an indented triangle in it (only one corner on the CPU socket will have such a corner).

Match up the yellow corner on the CPU with the indented corner on the CPU socket. The CPU should fall right into place. If you have to push a little for it to fit, you know you have done something wrong. You don’t need to push the CPU at all – if inserted correctly, it will fall into place on its own.
Once the CPU is inserted, move the metal lever back down. This locks the CPU onto the socket.